For the bathroom I knew I wanted retro white and black octagonal tile but had planned on porcelain all along because of price. On a last minute decision to go to Habitat for Humanity, just to look around, my mother and I found this beautiful marble tile. I did go a little over what I had originally budgeted for the flooring but I would’ve been an idiot to walk away from marble at 75% off.
Before and After Bathtub Refinishing
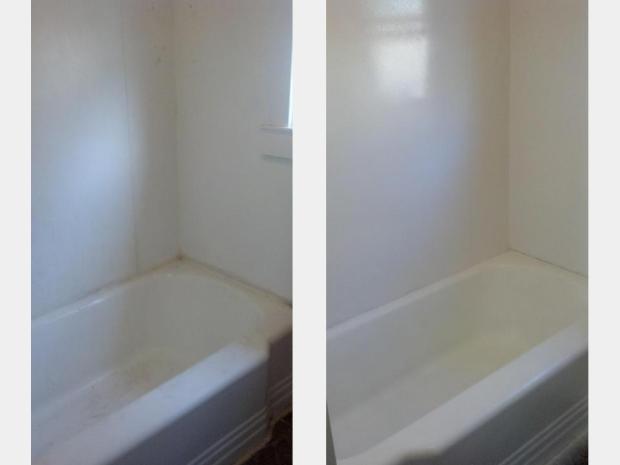
With the bathtub being one of the only original finishes left in the house I wanted to save it instead of replacing it. The fiberglass surround of course was not true to the home and not at all what I would choose for a tub surround but it was in great shape. We decided for the sake of time and money to just refinish the tub and surround. On the tub I used a product called Tile Doc, and on the surround I used an industrial and marine enamel. This was a weekend project and only cost me around $50, which is WELL under what new tile would run us.
1954 beer can
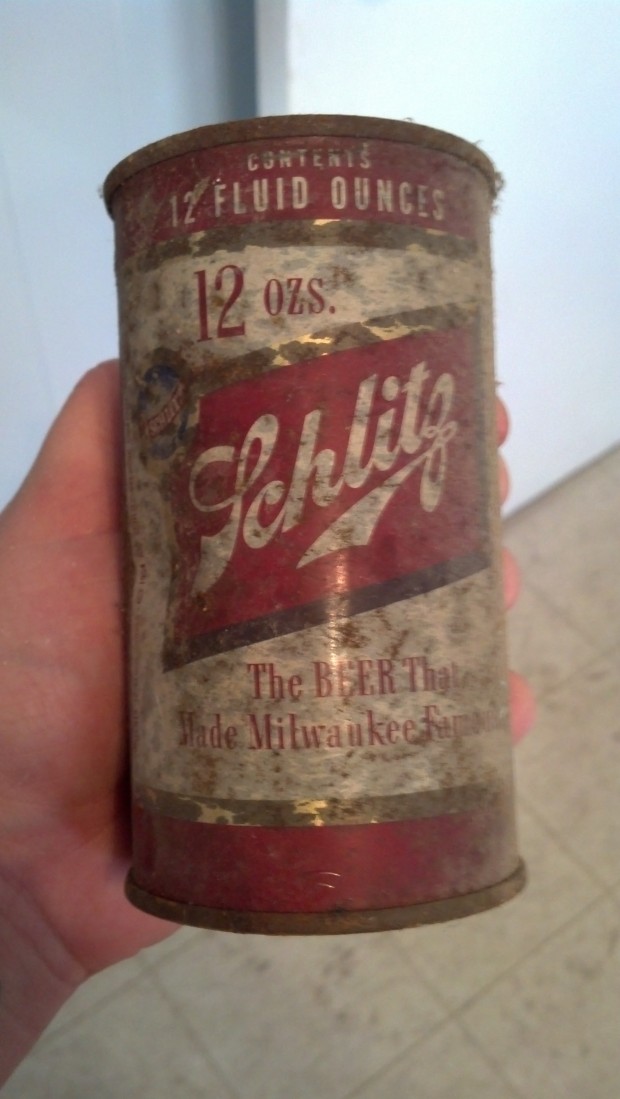
Found two of these between the sheetrock and the fireplace, wish we would’ve found money but hey, 60 year old beer cans are pretty cool too.
Exposed brick
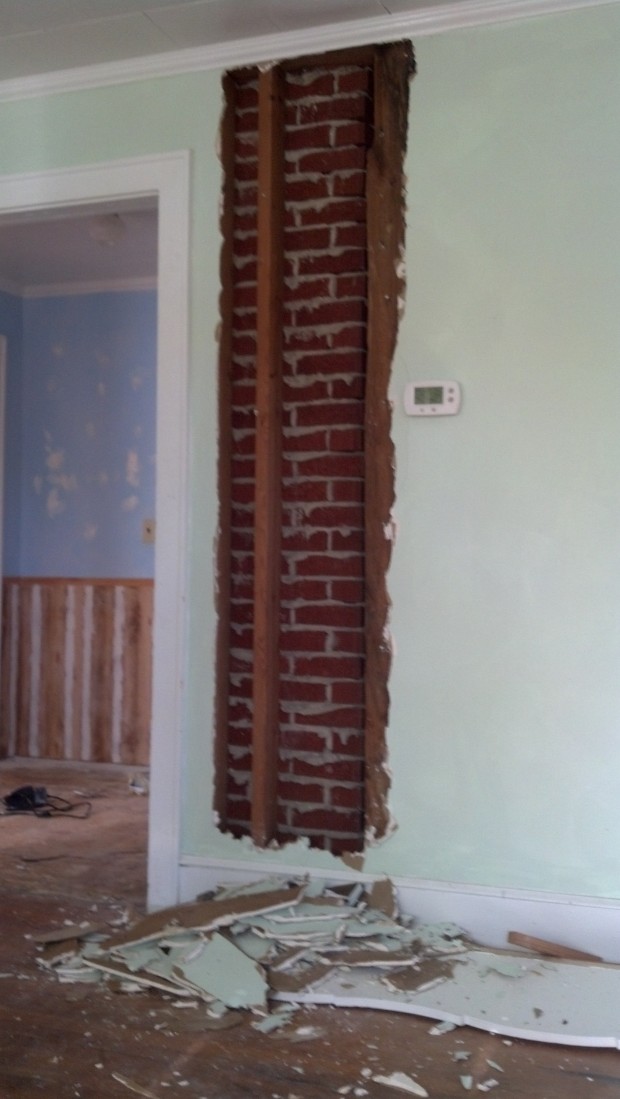
Got a wild hair to see the fireplace that had been covered up, I really want to keep it exposed and find some creative way to “use” it. So I am taking suggestions on what to do with it. Initially I thought book shelves but its not deep enough. I am almost tempted to do nothing with it, just let it stand alone.
Original Wood Floors!

Obviously a home of this age would have wood floors somewhere, luckily they were salvageable in the living room and the master bedroom. Once the new wood is put down in the kitchen, all the hardwood in the house will be refinished with a Jacobean stain and a semi-gloss poly.
Laundry Room
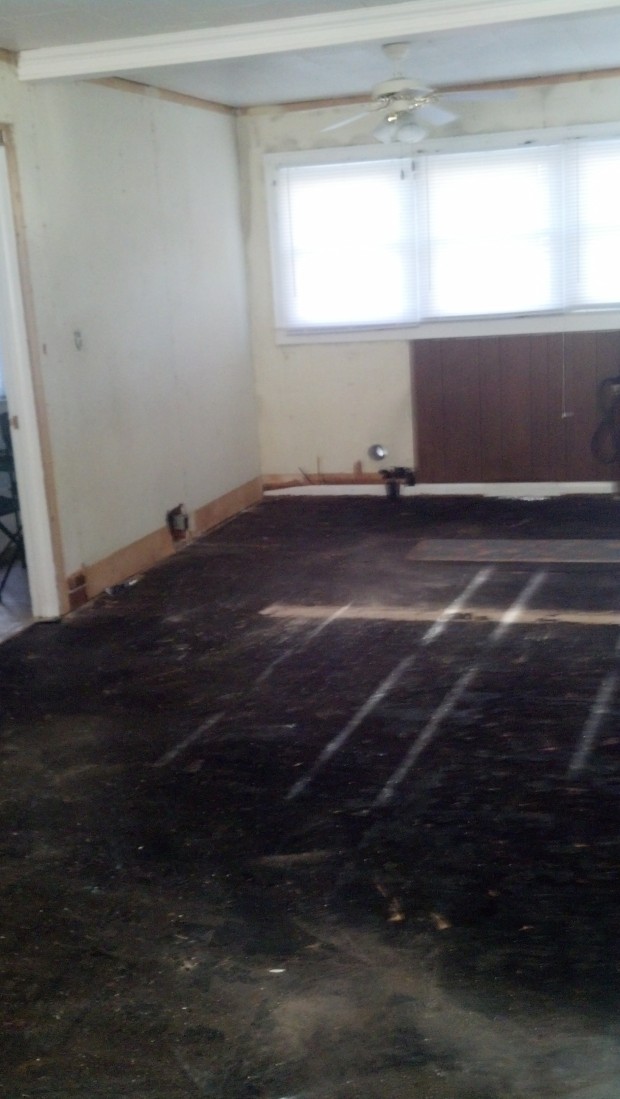
At the opposite end of the kitchen is our laundry room, while I do not like the fact that our washer and dryer will technically be in the kitchen, it is what it is and I will make it work. New cabinets will hide the washer and dryer along the back wall and will be completely out of site. There is a doorway into a room off to the left that has been framed in and will no longer be there once the new sheetrock goes up. White bead board will cover the entire kitchen/ laundry area ceiling providing everything goes as planned.
opening into the living room.
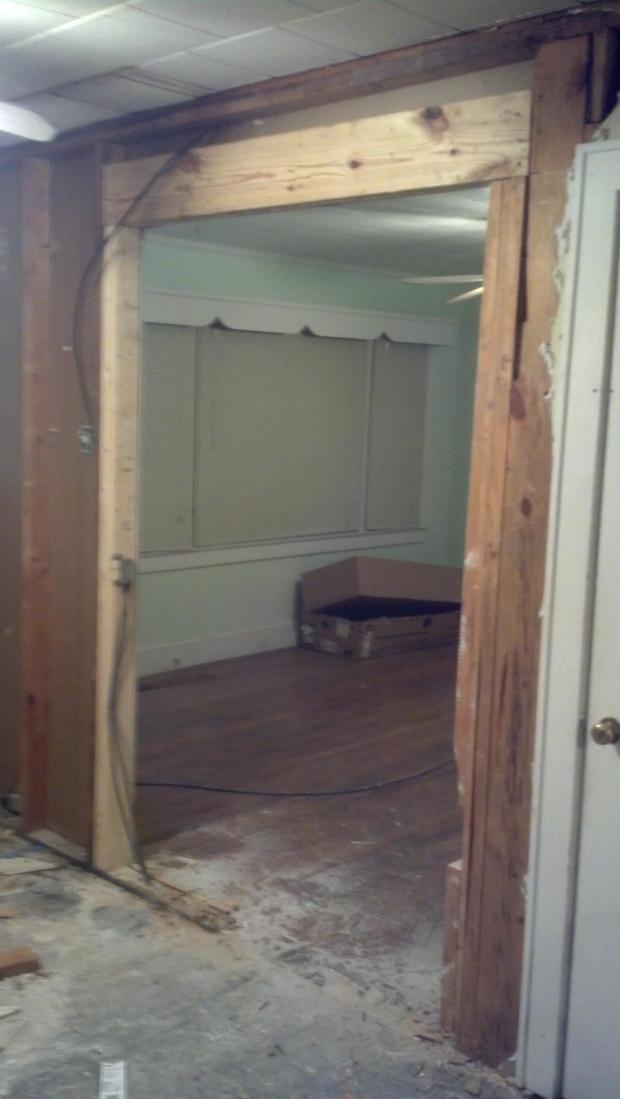
This doorway being expanded has been a top priority of mine since day one. After reconfiguring the kitchen layout we were able to gain a good two feet in width. This completely changed the feel of the two rooms and made everything flow better. The plan is to slightly round the corners of the opening to give the appearance of an arch.
After Gutting The Kitchen.

At this point all of the cabinets, linoleum, and paneling have been removed from the kitchen. Yes there are hard wood floors under that disgusting black tar like substance, but due to bad or patched spots throughout the area we are going to lay new oak flooring similar to the original. I am not going to lie, my husband and I felt a little overwhelmed at this sight for a while but we keep telling ourselves it will be worth it in the end!
Original Kitchen Cabinets. (Before Photo)
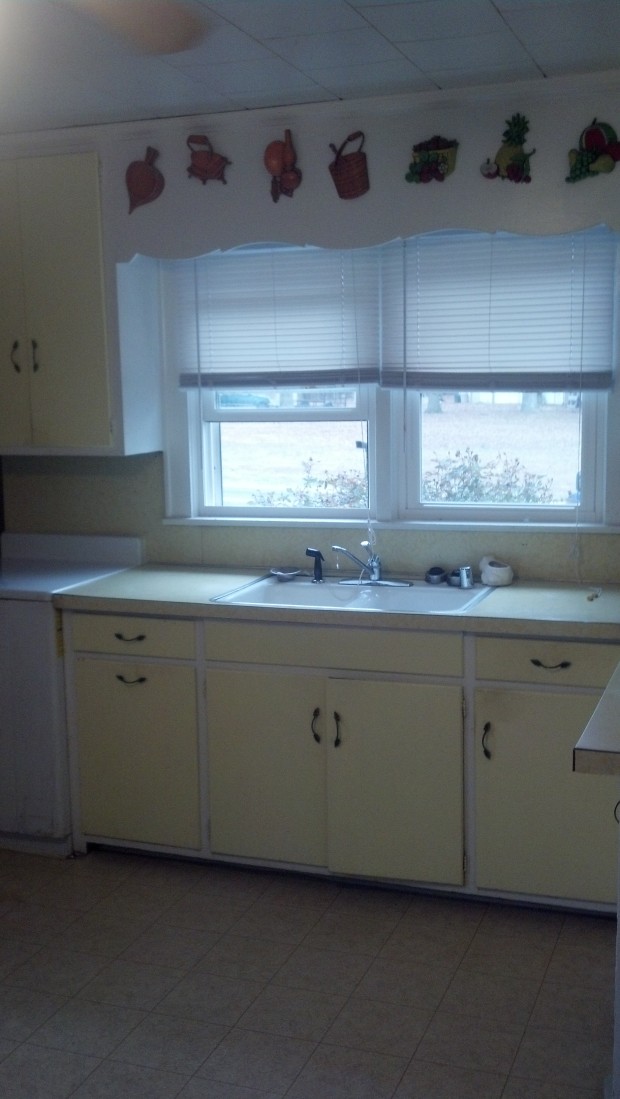
As far as we know these were the original kitchen cabinets, they were just too far gone to keep but I did manage to salvage all but one of the handles.
Introduction
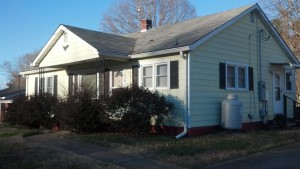
For my first post I have decided to give an overview of the home and what my plans are for it. The house was built in 1950, it has three bedrooms, one bath and just under 1400 square foot. We are the third owners of the property and intend on salvaging any original details that are left. Some of the original items in the home just don’t work well in present time, for example the kitchen layout, so things of that nature will be changed. We want to keep the integrity of the home, but add functionality.

